
Wow! Am I excited with how this turned out! I was sent several Tow Mater pictures to consider while making this cake for Megan and Gavin. This started out as a 12x18 sheet of chocolate chocolate-chip cake. I cut three 6"x12" sections of cake. and stacked two of them on top of one another. I doweled the center area where I was going to stack the cab of the truck. Then, I cut the remaining 6x12 in half and stacked it on top of one another to form the driver's cab.
 |

 |
| This is a 1" sheet of styrofoam cut about 1.5" smaller than the cake. This will provide the gap under the truck so that the tires look like they're in the right spot. |
 |
| Dirty iced-side view. |
 |
| Dirty iced-front view |
 |
| Dirty iced-back view. |
 |
| Yes! Tow Mater is actually blue underneath all of that rust! This is the base layer of blue and green fondant. |
 |
| As soon as I covered the cake in blue fondant I made a small cut in the front and inserted a piece of paper towel to help form his lip in preparation for his teeth. |
 |
| All black sections of the towing set up are dowels covered in black fondant. I stuck them together with a little bit of water. I used melted chocolate for the end piece. The tow cable are peelable twizzlers. |
 |
| Mater's eyes. In hindsight, they're a bit small...but at least I captured the look of Mater. |
 |
| I purchased wire at Micahels that was covered in brown wrap. These will be Mater's side mirrors after they dry. |
 |
| I used a cookie cutter and cut tires out of styrofoam. Then, I put a layer of piping gel and fondant on the wheels. I used a small circle cutter for the rims and dragees for the bolts. |
 |
| Side panel of Mater's car. I used the fine tip decorating pens and hand wrote this on. |
 |
| Front engine area. I used a rectangular piece of fondant and a circle cutter to cut out the black part. |
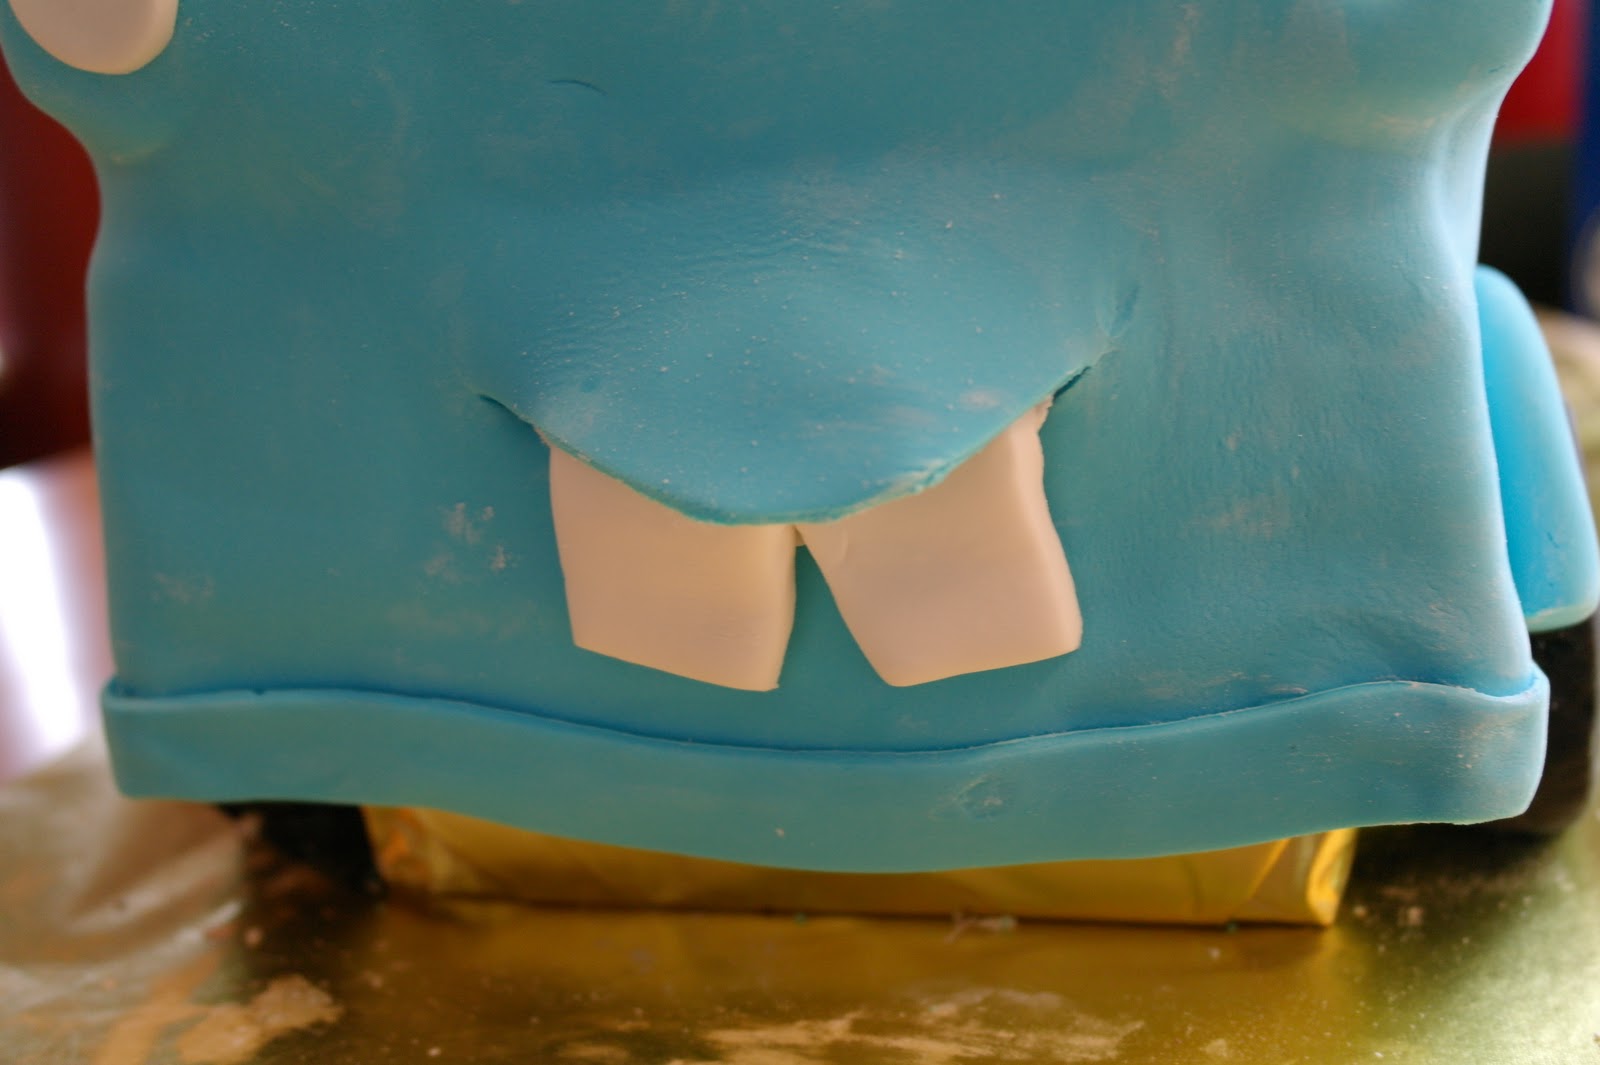 |
| Mater's trademark buck teeth. |
 |
| White fondant dusted with yellow dust with black fondant stripes. |
 |
| All details are in place. Now all that is left is dusting! |
 |
| Back view... |
 |
| I used 3 different colors of luster dust and "dusted" Mater's rust on to him. I used bronze, aztec gold, and dark brown. My inspiration for the cake is at the bottom of the picture! |
 |
| Final cake-back and side view. |
 |
| Final cake-front view |
 |
| Final-back view. |
Wow, Wow, Wow! You totally outdid yourself, Anita! The cake was FANTASTIC! It was also DELICIOUS! Gavin had the best 3rd birthday a little boy could ask for!! I'd like to reserve a cake spot for the last weekend in Sept 2012! Who knows what a 4 year old might want his cake to be, but I have no doubt you will be able to make it :) AMAZING!
ReplyDeleteHi there! Your tow mater cake turned out splendidly! I have been asked to prepare one for a friend and wasn't sure where to start. Thanks for the great step by step walk through, looks like a super fun cake! How much time did you invest to finish this masterpiece?
ReplyDeleteThank you so much for this awesome tutorial! I used to create Mater for a coworker's grandson's third birthday and was really pleased with how it turned out. I really appreciate all of the time you put into making this. Thanks Again!
ReplyDeleteAnnika James
Nice recipe of 3D cake. If you want to buy 3D cakes for birthday celebration then choose best shop who provides fresh and best cake.
ReplyDeleteI just wanted to thank you-I've never used fondant before but I followed your precise directions and it helped me make my son's birthday cake look incredibly impressive. Thank you again for your Tow Mater and Fondant directions. IMG_8629.JPG
ReplyDelete